You don’t have to look far for online resources stating that smartphones killed the camera industry. After all, the iPhone 14 Pro boasts an impressive 48-megapixel main camera, just as powerful as some cheaper DSLRs.
If you’re interested in photography, is using an iPhone 14 camera enough? It can be, yes! However, learning how to use Portrait Mode can enhance your photos and make it look like you took them with a professional-quality camera.
Here’s how to make the most of your iPhone 14’s camera settings and how to navigate the settings of Portrait Mode to yield the most beautiful photos.

What to Know About the iPhone 14 Camera Changes
First and foremost, it’s important to understand any updates to the iPhone 14 camera system. Understanding the lenses on your phone will help you understand what you’re working with when taking photos.
iPhone 14 & iPhone 14 Plus
The iPhone 14 and iPhone 14 Plus feature slightly different camera features than this model's Pro and Pro Max versions. For example, the regular iPhone 14 and the Plus feature a dual-camera system for the rear cameras.
With two lenses, you can enjoy 2x optical zoom and a digital zoom of up to 5x. This is impressive, sure, but it’s incredibly different from the Pro and Pro Max versions.
The 48-megapixel camera is only available if you purchase the iPhone 14 Pro or Pro Max version of this newly-released Apple iPhone.
Unfortunately, the two cameras that come with the regular iPhone 14 and the Plus are 12 MP. This means that if you’ve previously taken photos on an iPhone 13, you
can expect about the same quality. The biggest difference is a slightly wider aperture.
Likewise, the front-facing camera has been upgraded on all four versions of the iPhone 14 compared to the iPhone 13. You can now enjoy a 12 MP front-facing selfie camera, a wider aperture of f/1.9, and autofocus. This is great for selfies, but we’ll get into that in a bit.
iPhone 14 Pro & iPhone 14 Pro Max
With the triple rear camera system on the iPhone 14 Pro and iPhone 14 Pro Max, you can enjoy 3x optical zoom. Furthermore, it can benefit from a 2x optical zoom out (1x optical zoom in, which is interesting), a 6x optical zoom range, and 15x digital zoom.
That’s three times more than the iPhone 14 and iPhone 14 Plus.
Let’s break down these three cameras, though. You’ve got:
- • 1 wide-angle camera
- • 1 ultrawide camera
- • 1 telephoto camera
The telephoto camera features the 3x optical zoom mentioned above. It also has a wider focal length than what we previously saw on other iPhone models, as it’s now a 24mm lens.
This allows you to view more of your surroundings in your photo, which will come in handy later when using Portrait Mode.
And finally, the most impressive part about the main camera on the iPhone 14 Pro and Pro Max is that it’s a 48-megapixel camera. This allows you to enjoy crisper photos with less noise and better photos taken in low light.
What to Know About Apple’s ProRAW Setting
Image credit: AppleInsider
If you’re using iOS 14.3 or later (your iPhone 14 should come with iOS 16 already installed) then you can take photos in Apple ProRAW.
This setting allows you to take higher-quality raw photos. Ultimately, shooting raw photos gives you greater control when editing them. To toggle this feature on, go to Settings > Camera > Photo Capture. Then, choose the resolution you’d like.
While this is a great tool for those using their iPhones for amateur photography, ProRAW currently isn’t supported when snapping photos in Portrait Mode.
This is something we’ve seen asked in forums online regarding Portrait Mode, so it’s important to clear this up now. If you’re having trouble getting ProRAW photos in Portrait Mode it’s because Apple currently doesn't support this feature!
What Is Portrait Mode?
Portrait Mode is an iPhone camera feature first released in 2016 with the iPhone 7 Plus. Initially, it essentially blurred out the background behind an object in the frame and created the sensation of a greater depth of field.
Over the years, Apple has improved this technology to enhance the look of Portrait Mode photos. How does the technology work?
Portrait Mode is made possible by the dual-lens camera system on iPhone models (and now the triple camera system in the case of the iPhone 14 Pro and Pro Max), which gives the camera multiple focal lengths to work with.
To use Portrait Mode, open up the Camera app and select "Portrait" from the list of camera modes. Then, point your camera at your subject and press the shutter button.
The iPhone will automatically determine where to place the focus and apply the appropriate level of blur to the background.
Portrait Mode adds a creative touch to your photos, and it's easy to use once you get the hang of it. However, you can take your photo-taking skills to the next level by learning how to get the most out of this feature when taking photos and editing them.
How to Take Portrait Mode Photos
Take your iPhone 14 pictures to the next level using Portrait Mode. Now that you understand what it is, it’s time to figure out how to access this feature of your iPhone 14 camera.
First, open the Camera app and swipe to Portrait Mode. Then, point your camera at your subject and ensure they're within the frame. Using the telephoto lens, you'll need to be closer to your subject.
Once your subject is in frame, tap the shutter button to take the photo. With a bit of practice, you'll take amazing Portrait Mode photos in no time. And by following these tips, you can get the most out of this camera feature.
Adjust Depth Control
You can adjust the Depth Control setting by tapping the “f” button at the top of the edit screen after taking a Portrait photo. Similarly, you can adjust it in-camera before taking your photo by adjusting the slider below the frame.
What you’re adjusting with Depth Control is the blur in the background, making it possible to create more interesting photos.
Depth Control is a great way to add more creative flair to your photos, and it's sure to become a favorite among iPhone photographers. Again, you’re able to adjust this in-camera before snapping your photo. However, you can also adjust it after you’ve taken the photo.
So, if you want to focus on getting your subject in-frame and well-focused, then focus on that and adjust the depth of field after the fact. Over time, you’ll learn which settings work best for your photography style and personal taste and be able to take photos with those settings.
Adjust Portrait Lighting
With the new iPhone 14 (as is the case with previous models), you can choose from different lighting settings. These offer you studio-quality lighting effects without the added equipment that comes with setting up studio lighting.
Currently, you can choose from five different Portrait Lighting settings aside from Natural Lighting, which simply changes the depth of field:
- • Studio Light brightens your facial features
- • Contour Light creates the effect of having more dramatic directional lighting
- • Stage Light isolates the subject in a spotlight
- • Studio Light Mono isolates the subject in a spotlight and changes the photo to black and white
- • High-Key Light Mono makes your subject grayscale and changes the entire background to white
As you’re getting used to the different Portrait Lighting settings we suggest simply swiping through them on your phone. You’ll see which looks best for the photo before you take a snap.
Likewise, if you took the photo with a specific Portrait Lighting setting and want to change it, you can! Simply open the Photos app on your phone and select the photo. Tap “Edit,” and you can swipe through the Portrait Lighting options to change the selected one.
If you don’t want any Portrait Mode effects on your photo, you can tap “Edit” to access the Portrait Mode feature and toggle it off.
How to Take Portrait Mode Selfies
If you’ll remember from above, all of the four iPhone 14 models now feature autofocus on the front-facing selfie camera. Apple also upgraded the camera in terms of the aperture, lowering it to f/1.9.
This improves the depth of field for portrait selfies naturally. So, you’ll likely notice a slight improvement from your regular selfies taken on other iPhones versus the iPhone 14.
Improving the aperture also helps increase the effects of Portrait Mode.
Due to these upgrades, if you’re interested in improving your iPhone 14 selfies, we suggest ensuring that you take your photos in Portrait Mode.
How do you take selfies in Portrait Mode on the new iPhone 14? You follow the same steps as you would if you were going to take a regular photo in Portrait Mode. Tap the camera switching button on the bottom right-hand corner, so you’re in selfie mode.
Swipe through to ensure you’re in Portrait Mode if you’re not already (again, simply follow the steps above!). Then, choose the lighting effect that you want. Tap the camera button to take your selfie and enjoy the improved lighting.
Tips for Taking Better Photos in Portrait Mode
Whether you’re taking regular photos or selfies, there are things you can do to improve the quality of the photos so get the most out of Portrait Mode.
Choose a Better Backdrop
While the point of Portrait Mode is to blur out the background to highlight your subject, it helps if the backdrop is somewhat interesting. More than interesting, though, it helps if the background creates contrast with the color of your subject.
If your subject is a woman in a pink shirt, set her against a bright blue wall or just in front of the ocean. Although blurred, the blue in the background will create a beautiful contrast between the woman and her pink shirt.
In this sense, it pays that you don’t want or need to focus on the backdrop. This means that if you’re shooting photos against the San Francisco Bridge, it will be hard for people to tell where you are when using Portrait Mode.
The bridge will be blurred out in the background and, depending on how you take the photo, almost unrecognizable. If you’re trying to highlight the location or draw attention to your surroundings, then shooting in Portrait Mode might not be the best idea.
Get Creative With the Angle
One easy way to enhance the look of your Portrait Mode photos is to get creative with the angles. Sure, you won’t be able to see much of the background, but it can enhance the artistic look and feel of the overall photo.
Consider shooting your subjects from below to make them appear more ominous and powerful. Or, shoot them from above as they lie in a field of sunflowers to make them look like they’re floating in a dream.
Honestly, it pays to spend time trying a few different angles here. Because iPhone cameras are so fast, you can quickly focus the camera, snap a photo, and then immediately move on to the next angle.
Swipe through the photos to see which angles look the best, and go back and take more photos from that angle. Try adjusting the depth and lighting settings to see if that improves the photo even more.
Look for Good Lighting
While you can easily adjust the lighting of your photos in the Camera app and even in photo editing apps, it pays to ensure that your subject is well-lit when you take the photo. This is important for one practical reason: Portrait Mode doesn’t work in low-light settings.
While this isn’t the case for the iPhone 14 Pro and Pro Max, you’ll find that Portrait Mode doesn’t work well (or look great) in low light settings on the iPhone 14 and the iPhone 14 Plus. Additionally, your photo will look a whole lot better if it’s well-lit!
Follow the Rule of Thirds
The rule of thirds is simply a way of composing a photograph so that the subject is off-center. This creates a more interesting and visually appealing image than if the subject were in the center of the frame.
To compose using the rule of thirds, imagine that your photo is divided into thirds both horizontally and vertically. With your iPhone, you can turn on this grid to help you see the lines more clearly.
Go to Settings > Camera and toggle on the “Grid” option.
Then, go back to your camera and position your subject along one of those lines or at the intersection of two lines.
For example, if you’re taking a picture of a person, you would position them off to one side, rather than in the center of the frame. This rule can be applied to any type of photograph, from landscape to portrait to still life.
By following the rule of thirds, you will instantly improve your iPhone 14 Portrait Mode photos and take more eye-catching photographs.
Protect Your iPhone 14 Camera Lenses
As mentioned above, Portrait Mode works due to the dual-camera and triple camera systems in the iPhone 14 models. So, to ensure that you can use Portrait Mode, you must have fully functioning camera lenses.
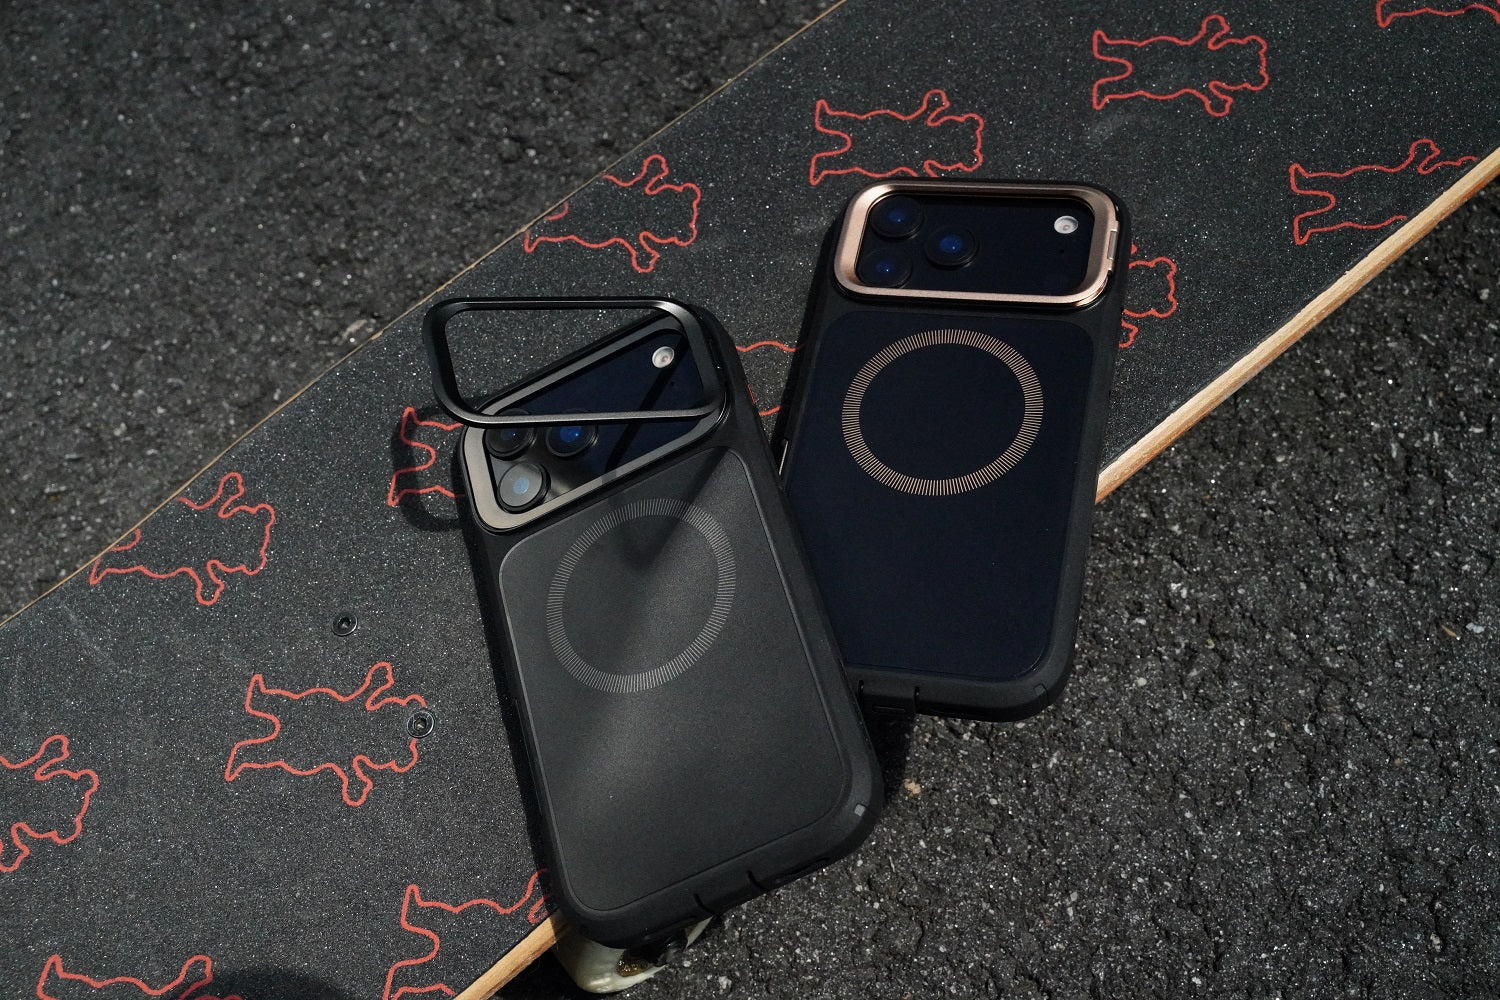
It’s important to protect your iPhone camera lenses from damage. The obvious way to do this is to get an iPhone 14 phone case with raised edges so that your lenses never touch surfaces (even if you drop your phone).
However, before we get into phone cases, there are a few other tips to prevent scratching your iPhone 14 phone lenses or damaging them in general.
First, you'll want to regularly clean your camera lenses. To do this, use a soft, lint-free cloth to clean your lenses. Microfiber cloths work great for this. When you're cleaning the lenses, avoid using harsh chemicals or solvents. While you can find lens cleaners online, using the microfiber cloth alone is likely enough to clean the iPhone lens effectively.
Additionally, be sure to store your iPhone where it will not get scratched or damaged. For example, this means not throwing it into your purse with your keys. When you move your purse around, your keys can scratch the lenses and cause irreparable damage to the camera system, which will affect your Portrait Mode options.
Get a Good iPhone 14 Case
As anyone who's ever dropped their phone can attest, the lenses on your iPhone's camera are quite fragile. A cracked lens can not only ruin your photos, but it can also be expensive to replace. Fortunately, there are a few simple things to help protect your camera lenses and keep them in pristine condition.
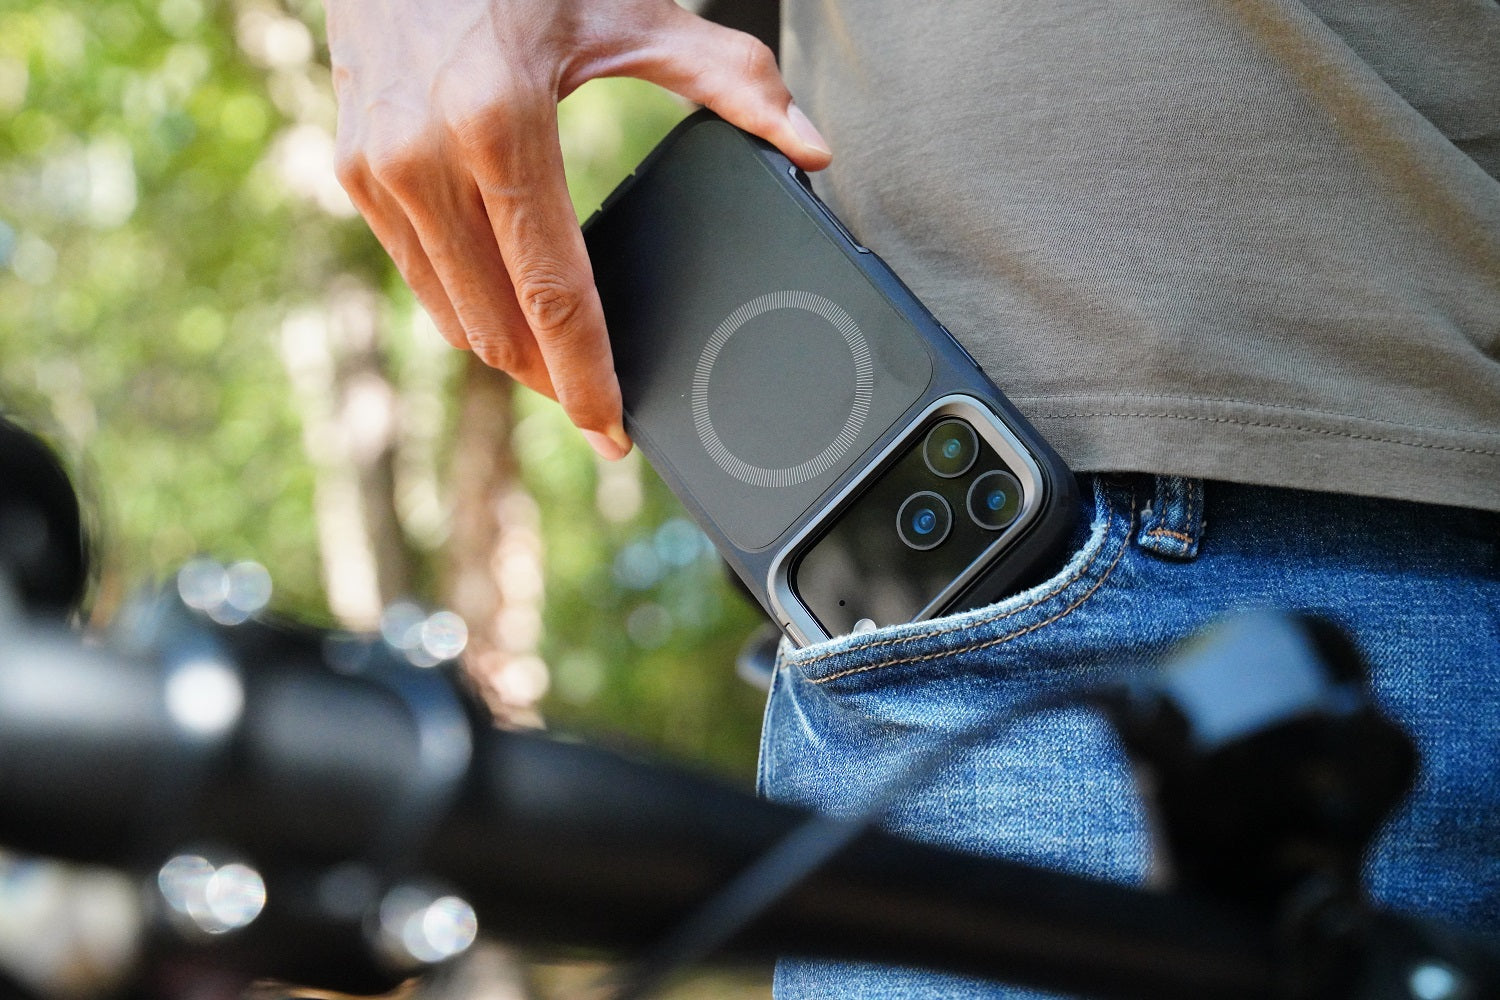
So, one of the easiest ways to protect your lenses is to invest in a good case. A case will not only cushion your phone if it's dropped, but it will also provide a barrier between your lenses and the elements. If you're worried about adding bulk to your phone, plenty of slim cases on the market offer excellent protection without sacrificing style.
Another way to safeguard your lenses is to use a screen protector. A screen protector will prevent scratches and other damage caused by contact with keys, coins, and other hard objects. It's important to choose a screen protector specifically designed for your model iPhone, as some protectors can interfere with the camera's flash or autofocus feature.
By following these simple tips, you can ensure that your iPhone's camera lenses stay in top condition for years to come.
How to Choose the Right iPhone 14 Case
Not sure how to choose the right iPhone 14 case that will properly protect your camera lenses to enjoy the full effects of Portrait Mode?
If you're looking for maximum protection, we suggest the Armorbox phone case. It offers 360-degree protection due to built-in screen protectors. Additionally, it features raised edges to ensure that no matter what surface it's on, the lenses won't touch the surface and risk getting scratched.
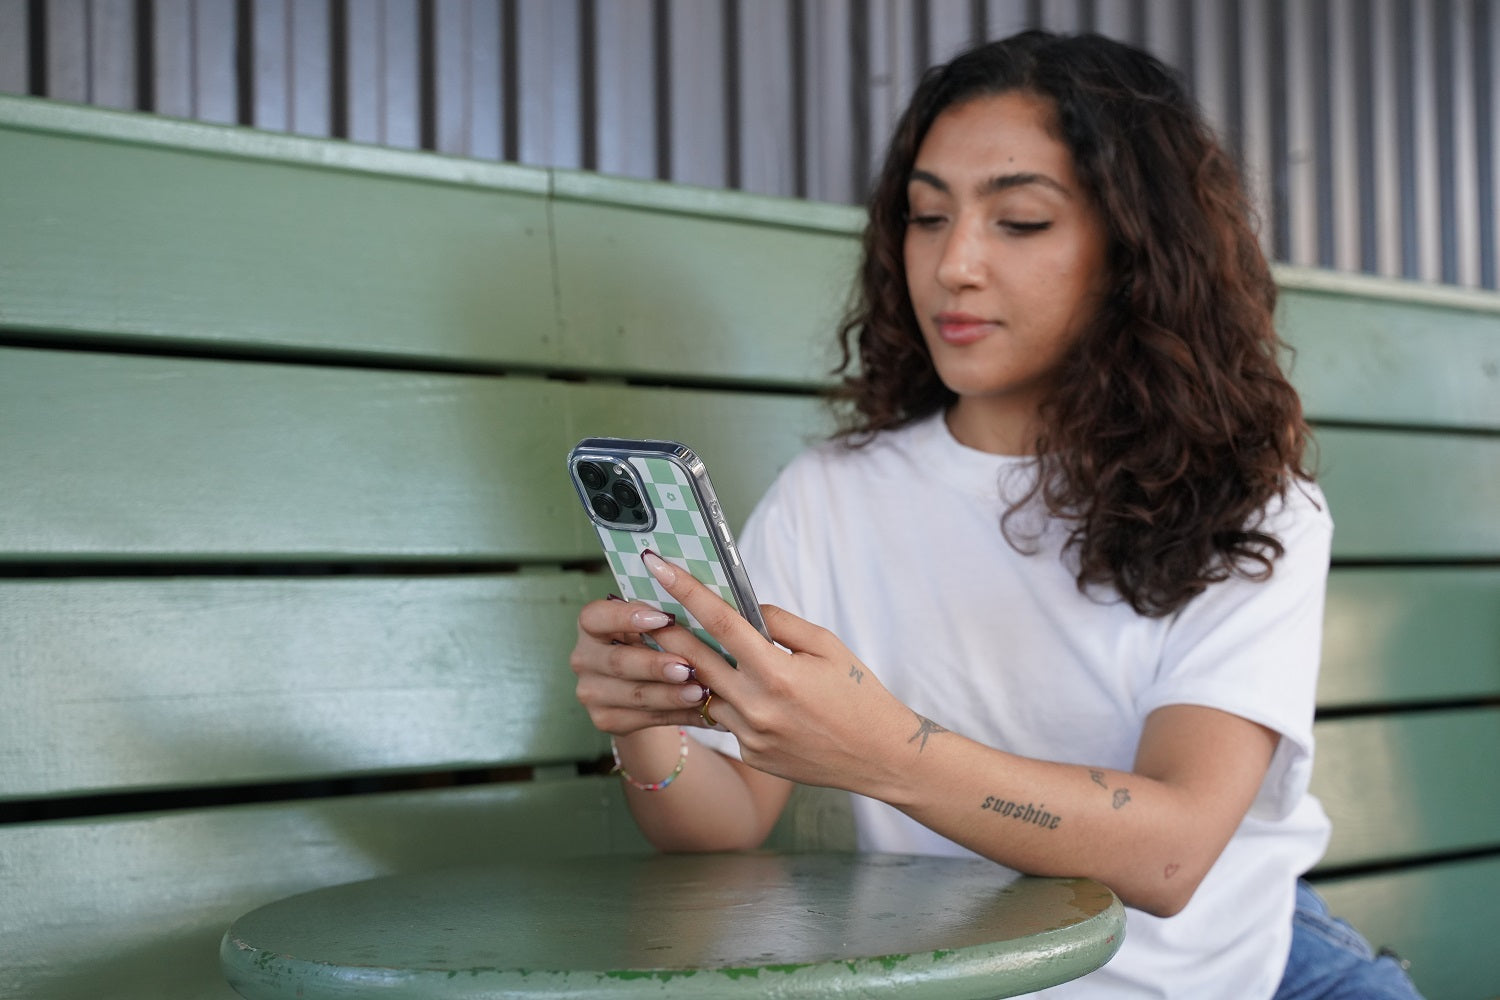
If you're looking for something just as protective but slightly more stylish, then we suggest check out the Cosmo Classic. From marble pink to ocean blue and a variety of other colors, the design is slightly more feminine and scaled back than the Armorbox but offers the same full body protection and raised edges to help protect your camera lenses.
Browse Our iPhone 14 Cases
If you're the owner of a brand new iPhone 14 and you're excited to check out Portrait Mode then you'll want to be sure you're protecting your phone before you head out for a photography session. Regardless of the level of protection and style you're interested in, we're confident we have a phone case you'll love.


Leave a comment